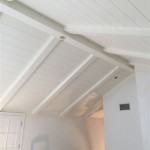
If you want to add a touch of classic charm and elegance to your home, then installing a beadboard ceiling is a great way to do so. Beadboard ceilings are especially popular in coastal and beach-style homes. The installation process is fairly straightforward and can easily be completed in a day or two. This step-by-step guide will help you install a beadboard ceiling with ease.
Step One: Preparing the Room
The first step in installing a beadboard ceiling is to prepare the room. Start by removing any furniture, rugs, and decorations from the room. Next, use painter’s tape to cover any electrical outlets or fixtures. You should also cover the floor with a drop cloth to protect it from any dust or debris. Once the room is prepped, you can begin the installation process.
Step Two: Measuring and Cutting
The next step is to measure the room and cut the beadboard panels to the appropriate size. Start by measuring the length and width of the room and then add an extra ½ inch to each measurement. This will ensure that the beadboard will fit perfectly and that any gaps or irregularities can be filled with caulk. Use a miter saw to cut the panels to the correct size and be sure to wear protective eye and hearing gear during the cutting process.
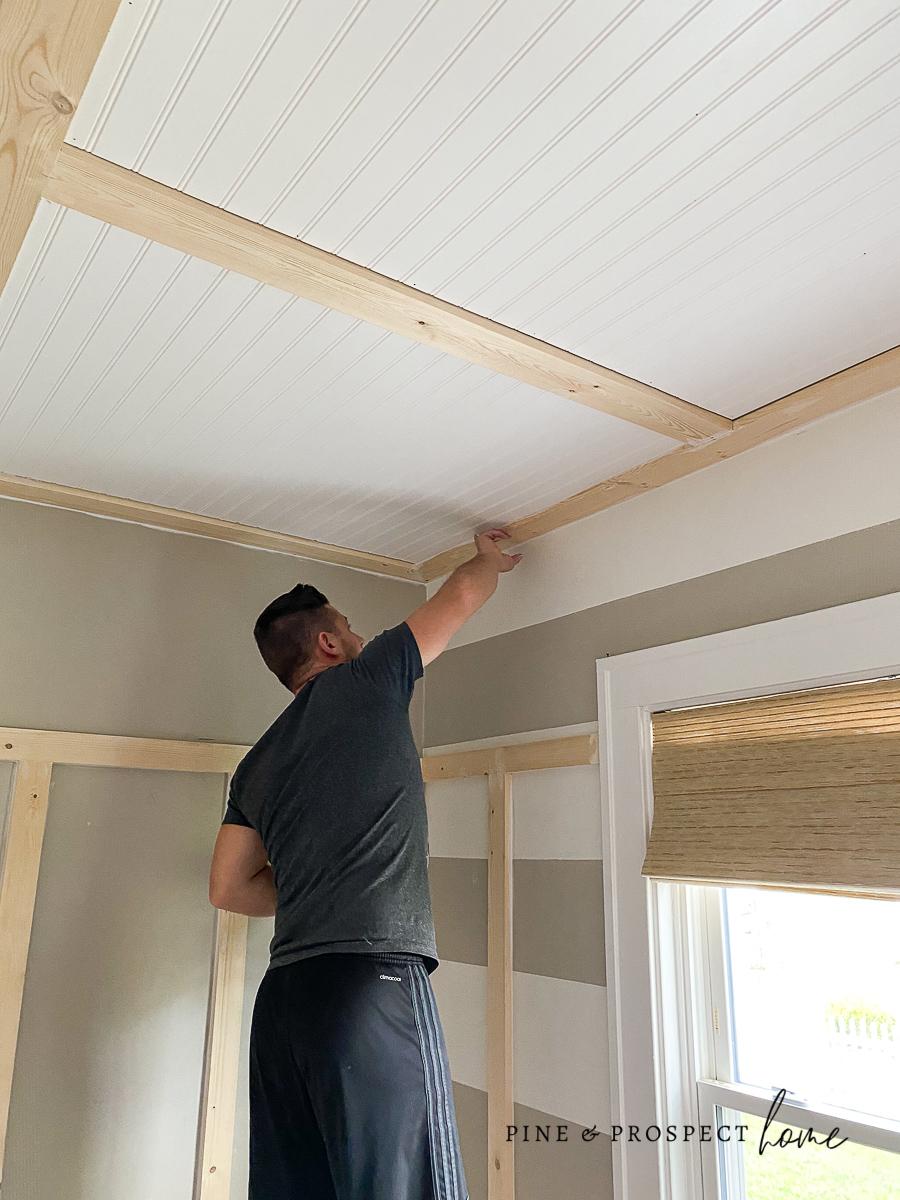
Step Three: Installing the Panels
Once the beadboard panels are cut to size, you can begin the installation process. Start by attaching the first panel to the ceiling. Use a level to make sure the panel is straight before securing it with nails or screws. Continue attaching the panels until the entire ceiling is covered. Make sure to overlap the panels to create a seamless look, and fill any gaps with caulk.
Step Four: Finishing Touches
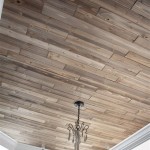
The final step is to add the finishing touches. You can paint the beadboard in a color of your choice, or you can leave it in its natural state for a more rustic look. You can also add trim around the edges of the beadboard for a more polished look. Once the beadboard is finished, you can add back any furniture, rugs, and decorations to the room.
Installing a beadboard ceiling is a great way to add a touch of classic charm and elegance to your home. With the right tools and a bit of patience, you can easily complete the installation process in a day or two. Follow the steps in this guide and you’ll have a beautiful beadboard ceiling in no time.


Related Posts