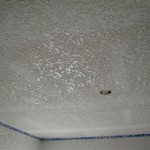
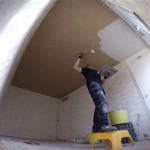
Textured ceilings can add a nice visual and tactile effect to any room. But like anything else, they can also suffer damage over time and require repair. If you have a textured ceiling that needs fixing, here are some tips on how to go about it.
Assessing the Damage
Before you start, it is important to assess the damage to the ceiling and decide how best to repair it. If the damage is minimal and only affects a small area, then you may be able to simply patch it up. On the other hand, if the damage is more extensive or covers a larger area, then you may need to replace the entire ceiling.
Repairing Small Cracks or Holes
For small cracks or holes, you can use joint compound or spackle to patch them up. Make sure the area is clean and dry before applying the compound. Then use a putty knife or a trowel to apply the compound to the cracks or holes. Once it is dry, sand the area lightly and paint to match the existing ceiling.
Replacing Damaged Areas
If the damage is more extensive and requires you to replace an entire section of the ceiling, you will need to remove the existing damaged material. Carefully remove the damaged section with a chisel and then scrape away any remaining bits of texture. Next, cut a piece of drywall to fit the area and secure it with screws. Then apply a thin layer of joint compound to the seams and use a trowel or putty knife to smooth it out. You can then add texture to match the existing ceiling. Finally, prime and paint the area to match the existing ceiling.
Conclusion
Repairing a textured ceiling can be a challenging task and not one to be taken lightly. But with the right tools and materials, it is possible to repair the damage and restore your ceiling to its former glory. Start by assessing the damage and decide what approach is best for the situation. Then follow the steps outlined above to repair or replace the damaged area. Good luck!


.jpg?1531667150)

Related Posts

