1.
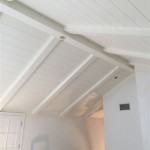
Creating a textured ceiling paint finish is a great way to add a unique and attractive look to any room in your home. It is also a great way to cover up any imperfections or damage on your ceiling. With the right tools, materials, and a bit of patience, you can easily create a textured ceiling paint finish yourself.
Gather Your Supplies
Before you start, you’ll need to make sure you have all the supplies you need. You will need a paint roller, a textured ceiling paint, a drop cloth, a paint tray, a ladder, painter’s tape, and any other supplies you may need. Make sure you have enough of each supply to finish your project.
Prepare the Room
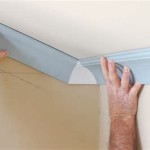
Before you start painting, you’ll want to make sure that the room is properly prepared. Start by removing any furniture from the room and covering the floors with a drop cloth. Next, use painter’s tape to secure the edges of the walls and ceiling so that you won’t accidentally paint the wrong area. Finally, make sure the room is well ventilated.
Mix and Apply the Paint
Once you have all the supplies ready and the room is prepared, you can start mixing and applying the paint. Start by pouring the textured ceiling paint into a paint tray. Use a paint roller to apply the paint evenly and in a criss-cross pattern. Make sure to cover all areas of the ceiling, and allow the paint to dry between coats. You may need to apply several coats of paint in order to get the desired texture.
Finishing Touches
Once your textured ceiling paint is dry, you can remove the painter’s tape and add some final touches. If you want to add some extra texture, you can use a sponge or roller to create a stippled effect. You can also use stencils or stamps to create a more decorative look. Finally, make sure to clean up any excess paint or debris before you put the furniture back in the room.


Related Posts


