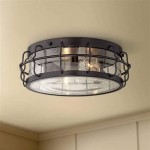
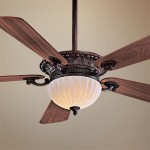
A ceiling fan globe is a great way to add a decorative touch to any room. However, over time, these globes can become cracked or broken, leaving your room looking a little dull. Replacing your ceiling fan globe is relatively straightforward, but it’s important to make sure you get the right size and style to fit your fan. Read on to find out how to replace a ceiling fan globe in five simple steps.
Step One: Shut Off Power to the Fan
Before you begin any work on the fan, make sure you shut off power to it by switching it off at the circuit breaker. This will help ensure your safety and prevent any electrical accidents.
Step Two: Remove the Existing Globe
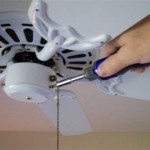
To remove the existing globe, use a flathead screwdriver to loosen the screws that hold it in place. Once the screws are removed, you should be able to slide the globe off of the fan. You may need to use a pair of pliers to help loosen the screws.
Step Three: Install the New Globe
Once you have removed the old globe, you’ll need to install the new one. Make sure the new globe is the same size and shape as the old one, as this will ensure it fits correctly. Place the new globe over the mounting bracket, and secure it with the screws you removed earlier. Make sure everything is tight and secure before moving on to the next step.
Step Four: Attach the New Globe to the Fan
Now that the new globe is installed, you’ll need to attach it to the fan. To do this, use the screws that came with the new globe and secure it in place. Make sure the globe is securely fastened before moving on to the next step.
Step Five: Turn the Power Back On
Finally, once you’ve attached the new globe, you can turn the power back on. Make sure the fan is running properly and that the new globe is securely in place before you use it. Congratulations, you’ve successfully replaced your ceiling fan globe!


Related Posts


