A ceiling fan light kit is a great way to add extra illumination to a room, and LED lights can help you save energy and money while also providing bright light. Installing a LED ceiling fan light kit is a relatively simple task, but there are a few important steps you should take in order to ensure proper installation. Read on to learn more about installing a LED ceiling fan light kit.
Select the Right LED Ceiling Fan Light Kit
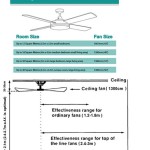
Before you can begin the installation process, you need to select the right LED ceiling fan light kit for your needs. Consider the size of your room and the number of lights you will need. Measure the area where you plan to install the light kit, and then look for a kit that will fit your space. You should also consider the wattage of the LED bulbs you choose, as this will determine how much light the bulbs will emit.
Prepare the Area for Installation
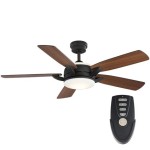
Once you have the LED ceiling fan light kit, you need to prepare the area for installation. Start by turning off the power to the fan and light switch. Then, remove the existing light kit, if any, by unscrewing the screws that hold it in place. Next, mount the new light kit to the ceiling fan. Be sure to use the screws that come with the kit and tighten them securely.
Connect the Wires and Install the Bulbs
Now it’s time to connect the wires. Most LED ceiling fan light kits come with a wiring diagram to help you make the connections correctly. Once the wires are connected, you can install the bulbs. Make sure to follow the manufacturer’s instructions for installing the bulbs correctly and use the provided screws to secure them. Once the bulbs are installed, you can replace the light shade.
Test the LED Ceiling Fan Light Kit
The final step is to test the LED ceiling fan light kit. Turn on the power to the fan and light switch, and then turn on the light to make sure it is working correctly. If all is well, you can enjoy your new LED ceiling fan light kit!


Related Posts


